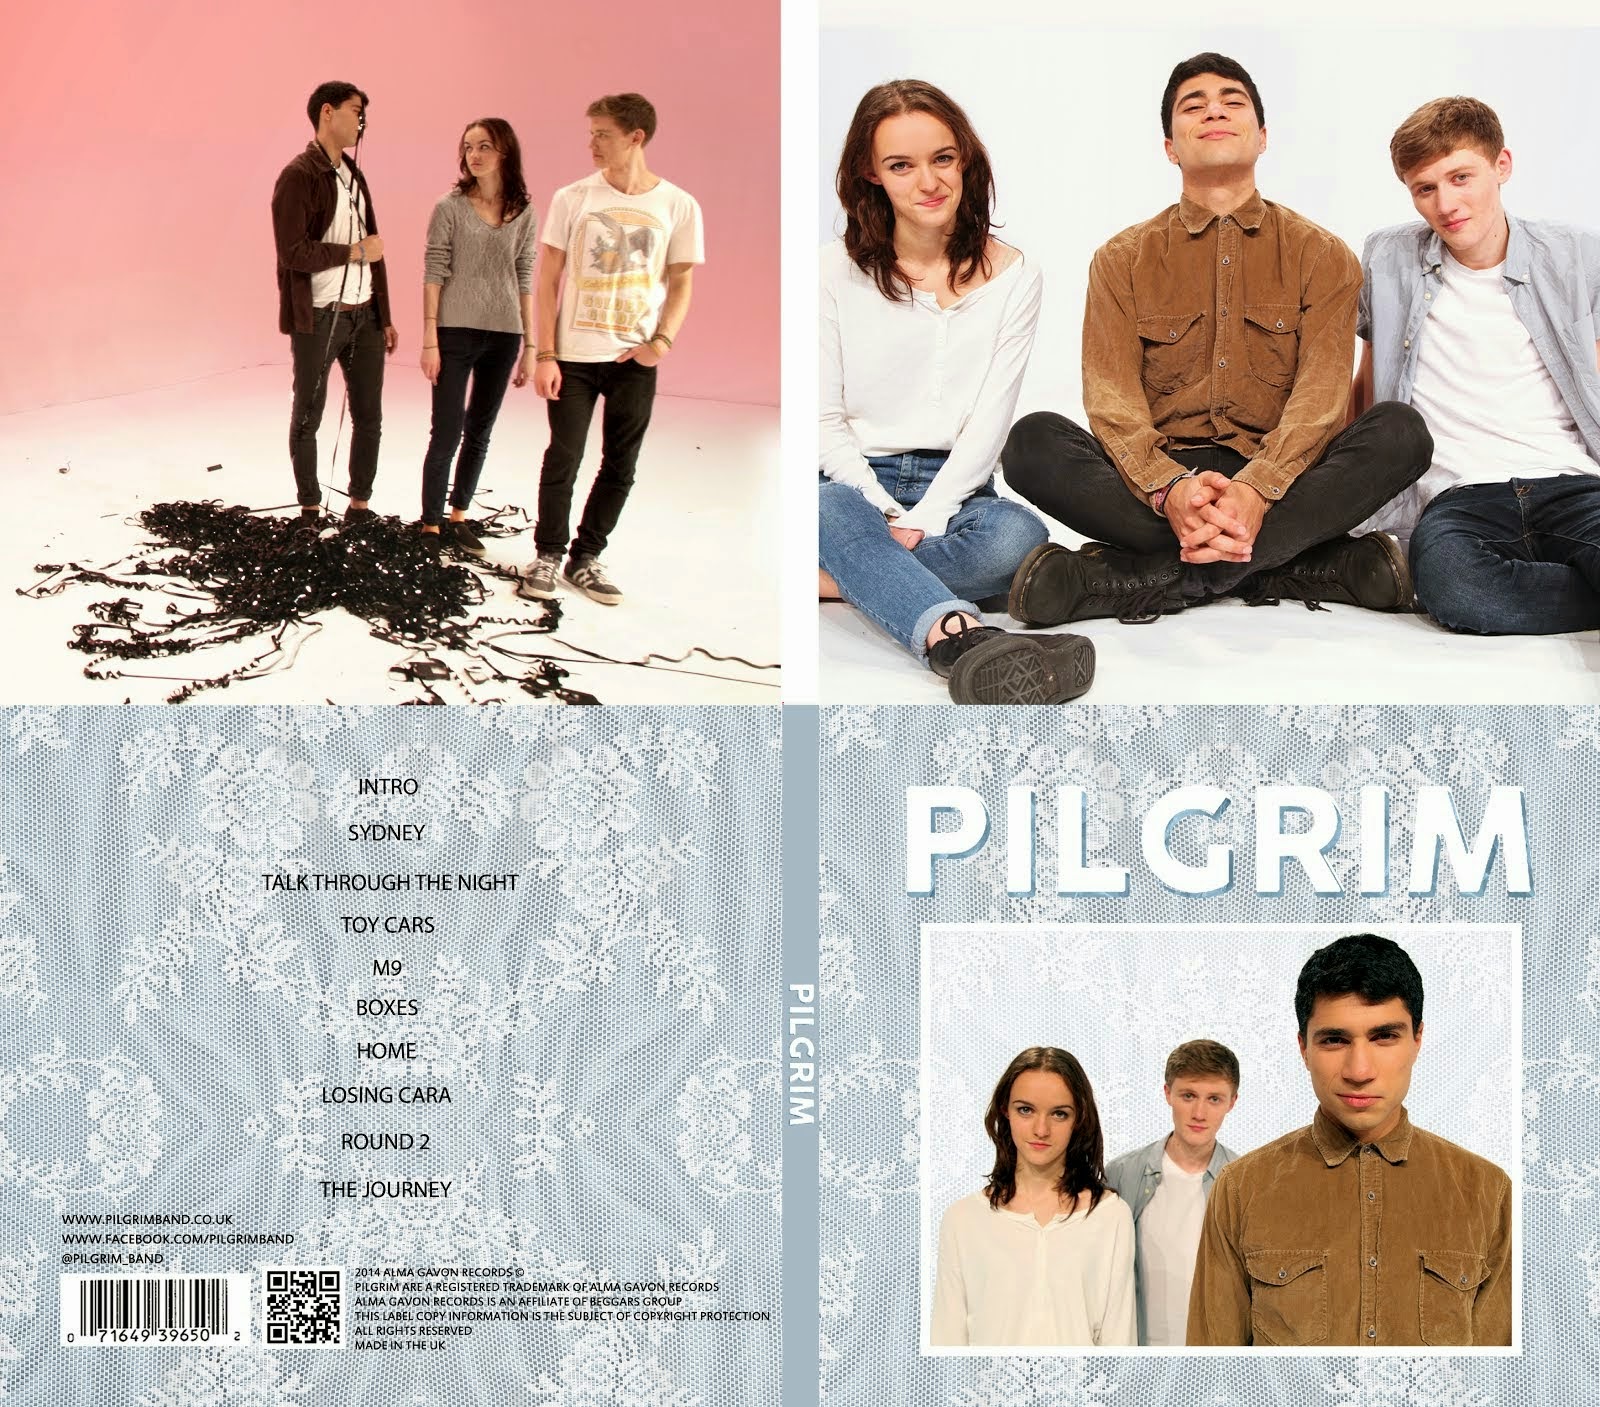
Throughout this project we have used technology not just to create our artefacts but to communicate and gain feedback too.
Below is a diagram of all the tech we used:
Throughout our project we used a whole range of technologies for various tasks:
Research and Planning
Research of Influences
Throughout the project, we have been constantly looking for examples of music videos, album covers and websites. These provided us with inspiration as well as the form and conventions of the indie genre.
We created playlists of influential music videos on Youtube that were accessible on all of our devices: desktops, laptops, smartphones and iPads. This meant that wherever we were planning we had access to our inspiration.
 |
| Our Youtube Playlist |
We used Google Chrome and Internet Explorer to find and collect album covers and websites which we were then easily able to embed on our blogs. However, some artist's websites were not designed for mobile devices so we didn't have access to their layout on the iPads and our smartphones.
The Rizzle Kicks website using a mobile
Choosing a Song - itunes, spotify, youtube
To find possible options for songs I looked through my iTunes library and also my saved music on Spotify. Once I had my options I embedded them on my blog through youtube, the rest of the group did the same.
 |
| My iTunes Library |
 |
| My Spotify Saved Music |
Communication - Facebook
Because not all of our planning took place in school, our group needed a way to communicate. We found that Facebook was the best as it was instant and accessible on our smartphones, computers and tablets.
We had a group page where we posted questions and updates that the rest of the group could comment on and a group chat for more immediate questions. We used both to organise production meetings, raise and solve issues and remind each other about props, shoot dates and costumes.
 |
| Our Group Page |
 |
| A post I made to the group |
Facebook worked really well for this as the whole group could be contacted at anytime because we all own technologically converged smartphones and it was a platform that we were all very familiar with.
Steal-o-matic and Animatic - adobe, keepvid
Our steal-o-matic and animatic were essential in making sure that our group all had a similar vision for our music video.
We used KeepVid to download our influential videos from Youtube, it was simple to use and quick. However, we weren't able to download some videos in 1080p with both video and sound due to restrictions on the website. This was frustrating as not all of the clips were the same quality but we combatted this by scaling the lower quality videos up in Premiere Pro.
Adobe Premiere Pro was easy to use as we already knew how to edit clips and music and add text.
Sourcing and Buying Props - amazon, Go international
Our props are such a vital part of our music video and we sourced them from two websites: Amazon UK and Go International. Both were simple and easy to use, between them we were able to find all of our props. However, Go International had a £30 minimum spend per order so we combined our order with another group's. The disadvantage of this was that those props came later than the rest but we had ordered early enough in advance that everything arrived in time.
 |
| The slinky we ordered from Amazon |
 |
| Go International's minimum spending price |
Construction
Working in the Studio
Shooting - 5D MKII
We used the Canon 5D MKII to shoot our music video and to take our publicity shots.
 |
| Taking Publicity Shots |
 |
| Me setting up a shot |
It was very easy to use as it has a similar layout to other Canon DSLRs, which I know how to use, and was very lightweight so was easy to do the moving shots with. One feature that was particularly useful was the Picture Style, where I was able to adjust the sharpness, contrast, saturation and colour tone in camera. This meant that we had less to do when grading.
| Picture Style menu |
 |
| The Jenga Setup |
A downfall of the 5D MKII is that the Autofocus in video mode does not work properly, so sometimes when reviewing footage we found that some of it was unusable especially when we had used the glidecam.
 |
| Me adjusting the glidecam |
Playback - Macbook Pro, 50 Inch Playback
While we were shooting we connected the Canon 5D MKII to a 50 Inch TV Monitor, this meant we were able to easily focus and frame as well as review footage as a group easily.
 |
| Setting up a shot after reviewing it on the monitor |
However, the HDMI wire connecting the two often came loose so I was constantly having to adjust it. In hindsight, I would have used a port protector to keep it in place.
| Port Protector |
Lighting - ARRI Redhead 100K Lights, Leapfrog Lighting desk
We used ARRI Redhead 100K Lights to light our set using the Leapfrog Lighting Desk. Both were easy to use and the lights had a whole range of coloured gels on them that we used to create our coloured backdrops. We were also able to save our lighting presets which saved us lots of time when shooting.
 |
| Kayvon Adjusting the lights |
 |
| Kayvon at the Lighting desk |
However, the lights had to be moved manually and getting the positioning of each light took some practice. We were much better after having set up the lights for a few shoots.
 |
| At the beginning our lighting was not evenly distributed so the shots were too dark but by the end of shooting we had solved this. |
Editing the Music Video - Adobe Premiere Pro, Adobe After Effects
Adobe Premiere Pro uses track-based editing which is easy to use and make changes to, we cut and adjusted our clips in the main sequence. Having the option to create multiple sequences in the same project was particularly useful, as it meant we were able to sync up and cut down shots before copying them into the main sequence, this avoided cluttering it up.
[screen shot of sequences/photo of alice editing]
We also used Premiere Pro for grading. The ProcAmp tool allowed us to adjust contrast and brightness where we had under or over exposed shots.
 |
| ProcAmp Tool |
The three-way colour corrector tool allowed us to make our shots warmer by making them slightly orange, this fit with the playful and fun aesthetic of the video.
 |
| Three-way colour corrector tool |
We also used Adobe After Effects for stabilisation and to clean up our tracking shots. One problem was that the clips that had been edited on After Effects could not be played in Premiere Pro unless you exported the video out. This was incredibly frustrating but we got around it by opening the individual clips in After Effects to watch them.
Creating the Website - Wix
Wix was an online tool that allowed us to design and create our website. Using it was easy and it did not restrict us in our creative choices as we were able to edit images, text and decide the size, colour shape of everything.
The pre-made layouts for photos were particularly helpful, as we were able to achieve a professional looking photo gallery quickly and easily.
 |
| One of our photo galleries |
The disadvantages of this software were that it took a while to get used to how Wix worked and that if we used it on Google Chrome it often crashed without saving our work. To get around this we switched browsers as it did not crash on Internet Explorer.
 |
| The crash page |
Social Media - Facebook, Instagram, Twitter
Again, we used Facebook to communicate within our group about shoot dates, costumes and editing decisions.
 |
| Alice asking for feedback on the digipak |
We also used Facebook, Instagram and Twitter to widen Pilgrim's reach. We created accounts on all three social media sites and invited people to like and follow us. This gave our audience more ways to interact with and learn about the band.
...
Pilgrim's Social Media Accounts
Evaluation
Audience Feedback - Survey Monkey
To get audience feedback on our music video, we created an online survey using Survey Monkey which was then filled out by strangers, friends and family. It was easy to create and we had a variety of options for types of questions we wanted to ask.
 |
| Some of the question types |
However, because we had not upgraded to a premium membership there were some restrictions placed on us such as a 10 question limit on each survey. Though this was not too big an issue as it just meant we had to select our questions carefully.
Creating Gifs - Imgflip, GifYoutube
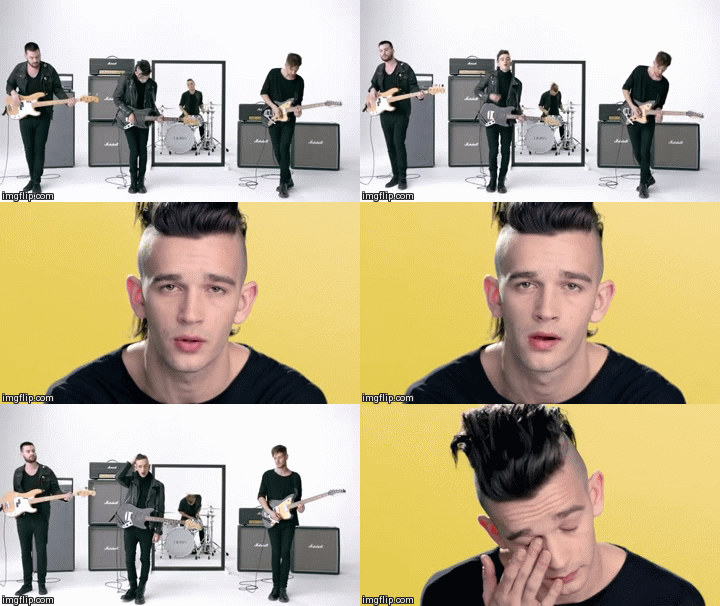
To create gifs illustrating my points I used both Imgflip and GifYoutube.
Imgflip was easier to use and gave you more options, but gifs created in it all have a watermark in the bottom corner.
 |
| An example of a gif made with Imgflip |
| Imgflip interface |
GifYoutube was simpler and there was no watermark but it often took too long to load and I ended up using Imgflip instead.
| An example of a gif made with GifYoutube |
| GifYoutube's simpler interface |
Social Media - Facebook, Twitter
In order to get people to answer our survey we shared it on Facebook. In addition, our family members also shared it so we got stranger feedback from their friends.
| My Post |
| My family member's post |
We also shared it on Dog Is Dead's Facebook page and tweeted it to them to get more responses.
| Our Tweets |
| The Facebook post |
Overall, technology has aided us greatly in this project. The proliferation of recent technologies over the past 10 years has enabled us to communicate and create in faster, more efficient ways and ultimately allowed us to create three artefacts that would have been entirely different 10 years ago.


No comments:
Post a Comment